
If you’re like me, you have great intentions to begin the year strong, get organized, have a planner, and ACTUALLY USE IT! I am the QUEEN of getting planners and journals and never using them! BUT, here enters the actual queen of planning, Erin Condren.
Here’s the website if you want to take a gander now.
I had been seeing Erin Condren Life Planners for the past few weeks on Instagram and so I took the bait and decided to do some research–and wouldn’t you know, there’s a relatively new store right in Fairfax, VA, just down the road! Well now I just had to go and check it out!
So, I took some time this past Saturday and ventured in.
First thoughts–“Oh my, I’m in trouble. All my money will be gone. This store is like my entire life dream of stickers and colors and pens, YES!”

Like just the outside of the store is awesome and beautiful. ISN’T IT?!
There’s a whole process to creating a planner through Erin Condren and let me tell you, I wasn’t prepared. BUT, the customer service rep walked me through the steps and helped me choose the planner of my dreams!
Customization is the name of the game at Erin Condren, so be prepared to have an idea of colors and what you might want. They have broken it down into fun steps (that you can do online too) and it turned out to be pretty easy!

So the first step was to choose what planner I wanted. Which didn’t make sense at first–is there a difference? YES! I decided to go with the LifePlanner because I wanted to plan out my weeks/days. The monthly planner is oviously for planning monthly & there is also a notebooks for just taking notes/journaling. So what’s with the vertical, horizontal, and hourly layouts? Here’s the breakdown:
LifePlanner Vertical Layout: Basically just 3 blocks places vertically to break up your day into three blocks. See an example here.

LifePlanner Horizontal Layout: This one is like a lot of planners I have used before, just a longer block for each day with lines & a smaller little block on the side.

Hourly Layout: This is the one I went with! Breaks down each day by hour. Which I absolutely love!

Once you have chosen your layout and whether or not you want it colorful or neutral (see above pictures for each), you get to move on to the most fun step!! The cover! Isn’t that what you really get a planner for? Not just planning, but because the color is awesome or says something cool on it? Well, Erin Condren DOES NOT DISAPPOINT. They have beautiful covers and you can make your planner whatever color you want. I like a more simple cover (wait until the end to see mine) and I had such a fun time choosing a cover. You can also customize to add your name or the year!

Once you’ve chosen you colors and cover and customized to make it super beautiful, you choose your coil color.

Platinum Silver Color comes standard with the LifePlanners, but for an extra cost ($10), you can choose Metallic Rose Gold, Gold, or Black. I stuck with the Platinum Silver just becuase I wanted to be as cheap as possible, haha!


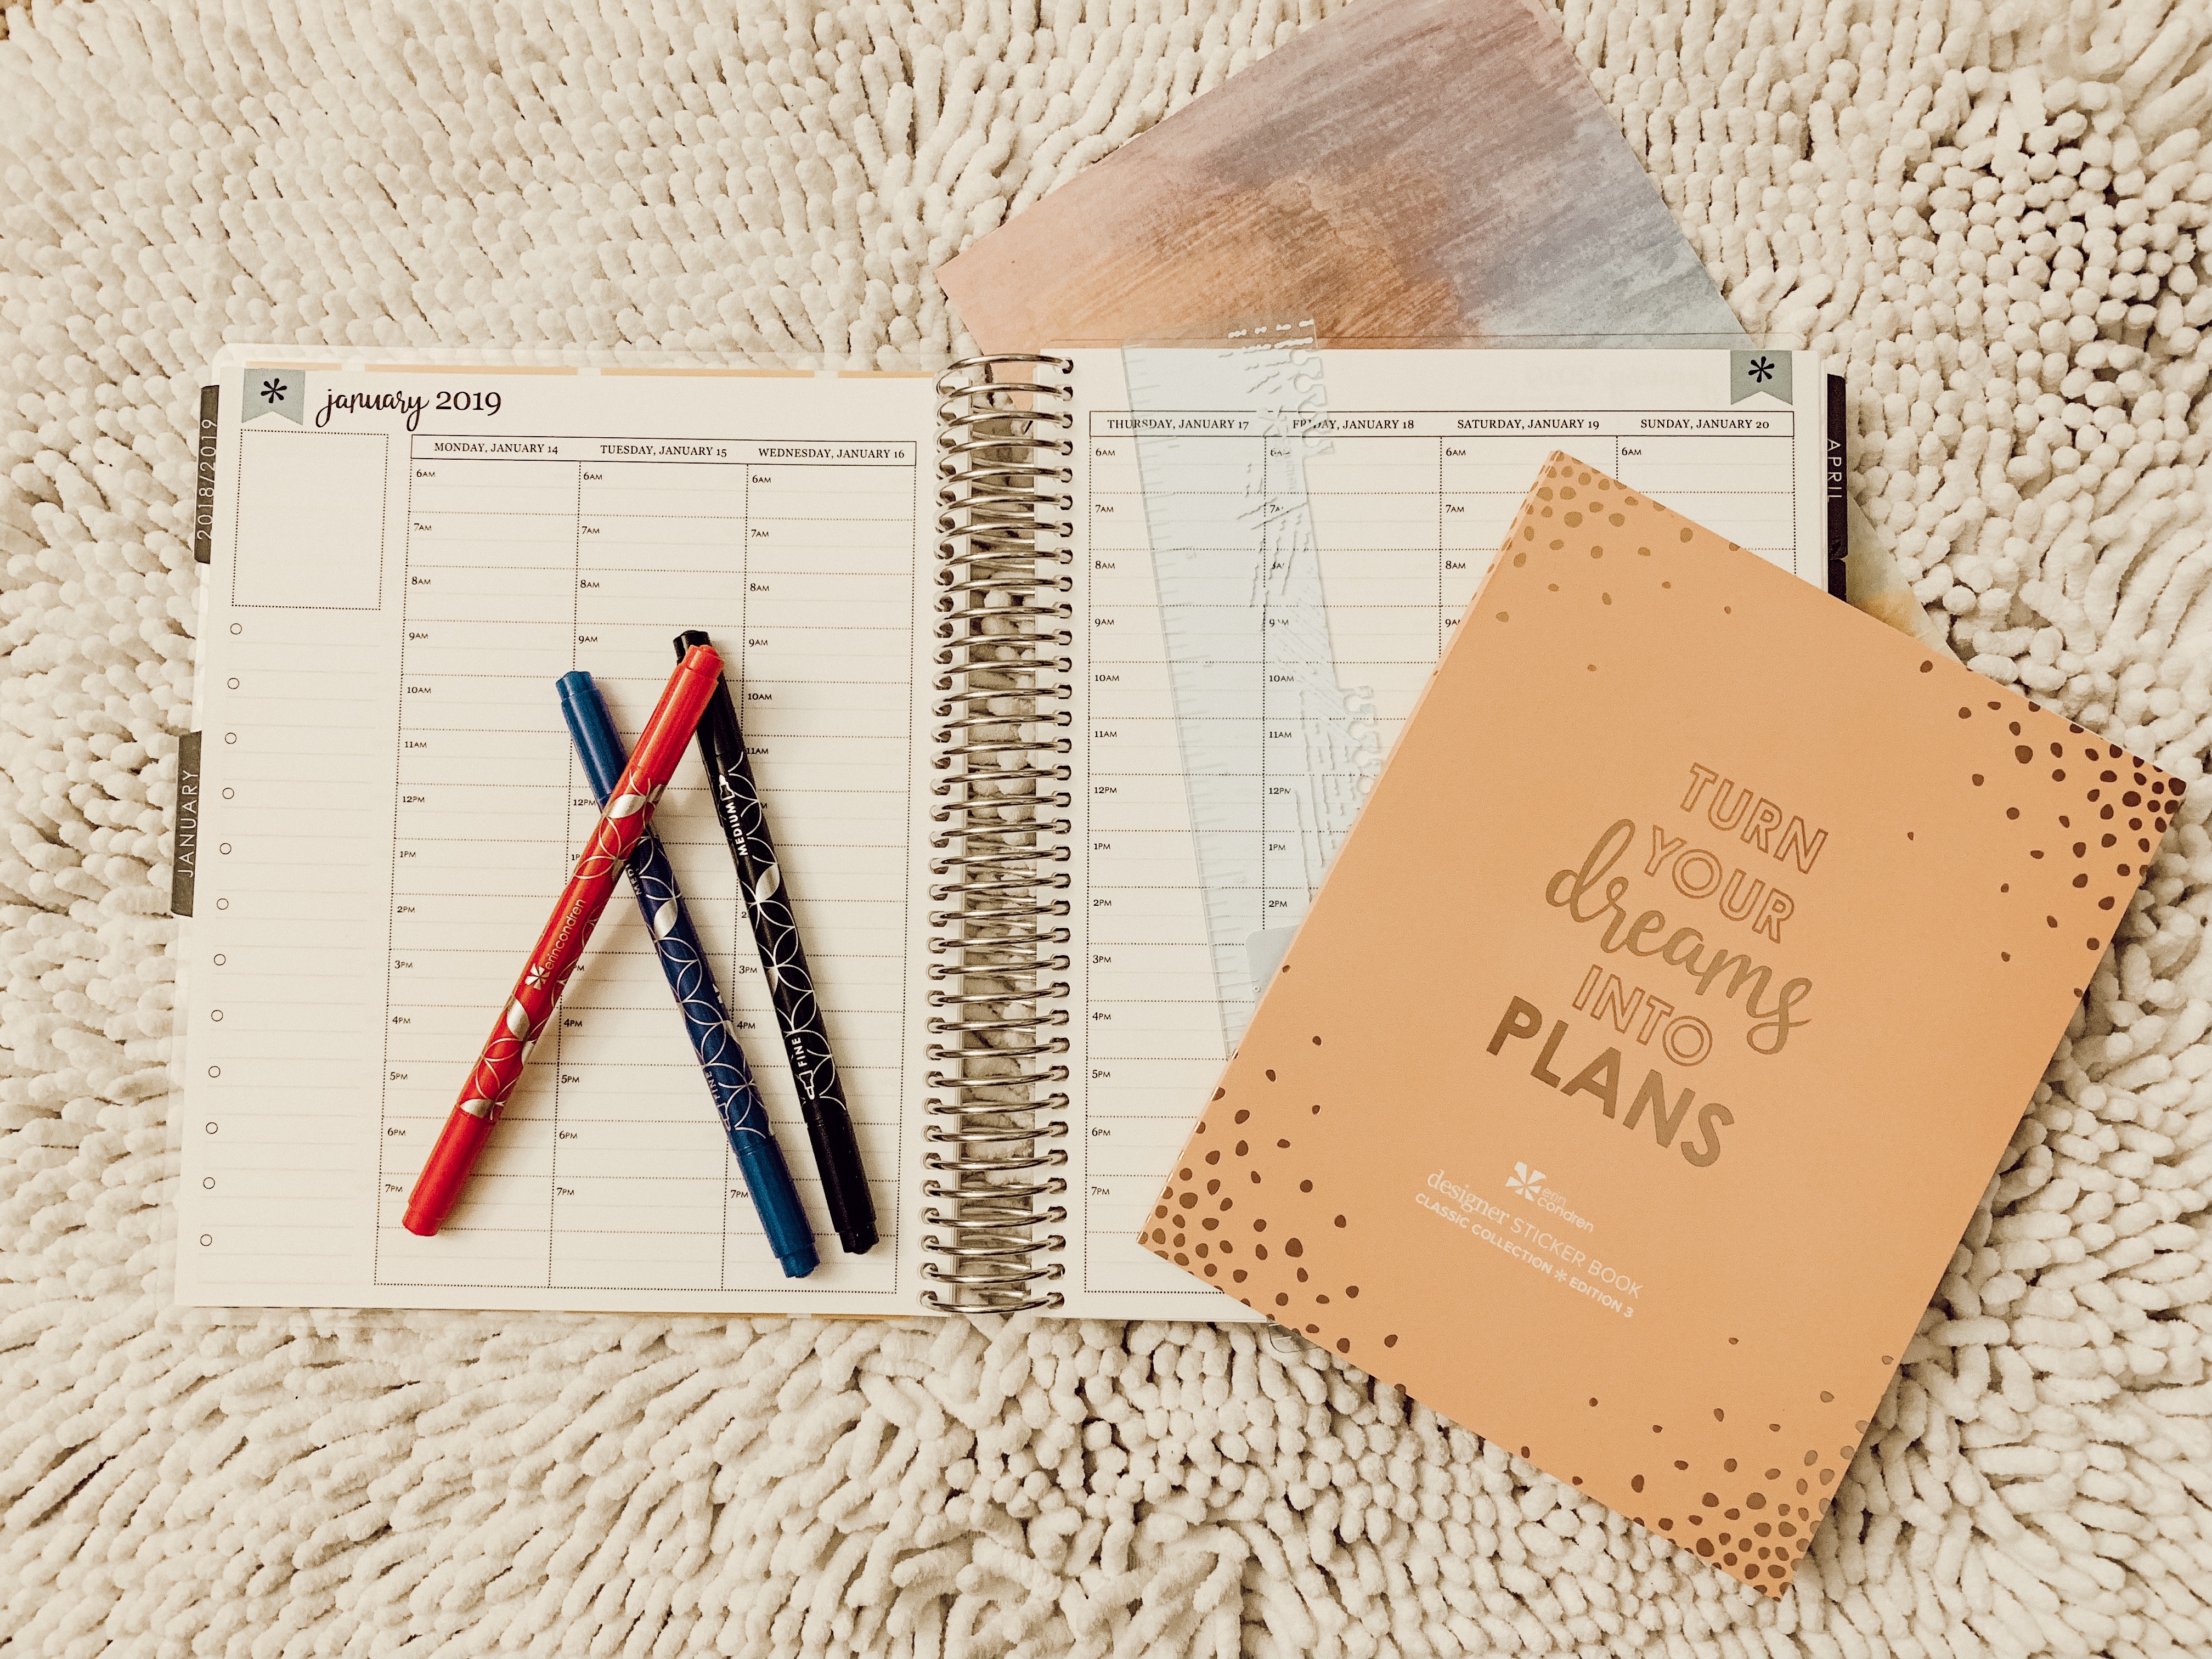
The LifePlanner comes with all sorts of stickers and fun extras to make you even more excited to use your new planner!
I will say, $55 is pretty expensive for a planner. But, with the amount of customization and detail in each page, I say it’s well worth it. The planner itself comes with stickers and all sorts of fun and beautiful pages that add value!

To shop the Erin Condren LifePlanner and customize your own, use this link! If you purchase a planner or calendar now through January 17th, you get a free sticker book (THE STICKERS OF YOUR CHILDHOOD DREAMS)! I seriously cannot wait to dig into my planner more and get to creating great content for y’all!
It may not change your entire world to get a new planner, but it sure will be more fun!

I chose the modern plaid LifePlanner in the color mustard.
My LifePlanner details:
Layout: Hourly
Color Theme: Neutral
Cover: Modern Plaid
Colors: Mustard & Ivory
Cover Personalization: Andi (used first name box) & 2019 (for the year they used the last name box)
Coil: Platinum (costs an extra $10 for the gold, rose gold, and black)
Total Cost: $55.00
I did buy some of the Colorful Dual Tip Markers 3-Pack so my total at the end was actually $63 without tax. They had so many cool stationary pieces, journals, stickers, etc. and I will definitely have to go back once I get more in to using my planner!


My next few purchases are going to have to be the really awesome planner inserts they have. Since the planner has a coil binding, you can clip in all sorts of different add ons. The best thing about them is that they are reusable! You can write on them with wet erae markers and then use them time and time again with your planners. Check out some of the cool inserts they have:
Snap-In To-Do List: Love this, how neat to change out your to-do list every week!

$4.00
Snap-In Monthly Bill Tracker Dashboard: Great for those who love to organize their bills on paper. The backside is a savings tracker.

$6.00
Snap-In Meal Planner Dashboard: I am definitely getting this one, how awesome is this!

$4.00
Here’s a link to the wet erase markers they offer!
Here are some links for you to shop:
Shop LifePlanner!
Shop Teacher Planner (how cool!)
Shope Deluxe Monthly Planner!
Happy planning, friends!
Please note, the links provided in this blog post are affiliate links and if you make a purchase, I do receive a small commission (no cost to you). I appreciate all your support! Happy shopping!